Aside from being outdoors, I really enjoy carpentry. I’ve made quite a few things, mostly furniture for my family and the workshop I built to make them in. I don’t usually take photographs of the process, but this time I made the effort and took photos (when it was safe to do so!). So thought I’d share a project that I’ve been working on. Apologies for the pictures, I used my GoPro as I didn’t want my Nikon to get dusty or wet from the process!
I’d seen a couple of coat racks on the internet made from wooden skis, so I’ve been wanting to make one for quite a while. It isn’t the first time I’ve tried making wooden skis – my dad and I made a pair when I was in school, so I had a bit of an idea about the process.
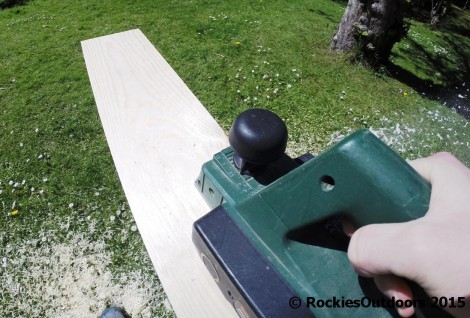
First off, I marked out the pieces of timber with the profile I wanted – the skis will be thinner at the tips and tails, this will make steam bending the tips much easier. Then I planed the wood using an electric plane to get to this profile.
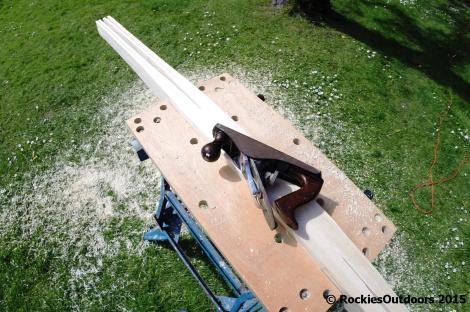
After planing I cut each of the boards in two using the table saw – there will be two skis from each piece of wood. I then planed the cut edges to make them smooth. They were then ready to be steamed and then bent.

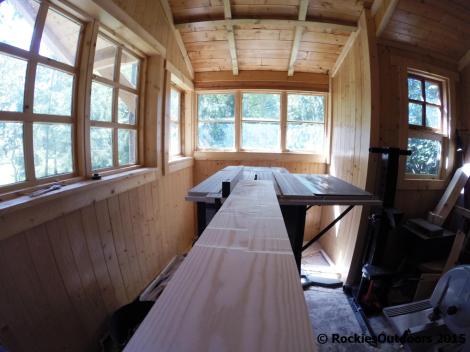
Four blank skis ready to be planed again – the pile of sawdust beside is from the first round of planing
I made the steam box previously and forgot to take photographs. It’s pretty much a plywood box with dowels inside to support the pieces of timber being steamed. There’s a hole in the base where the steam comes in.
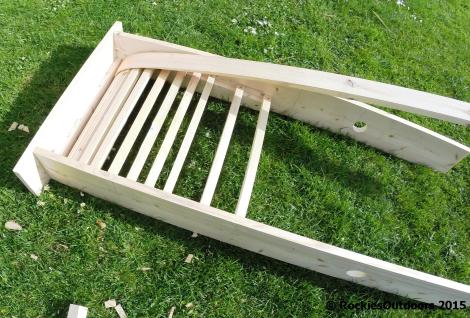
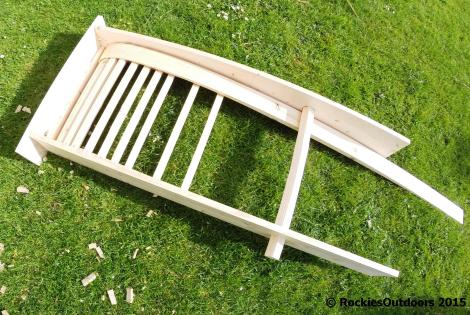
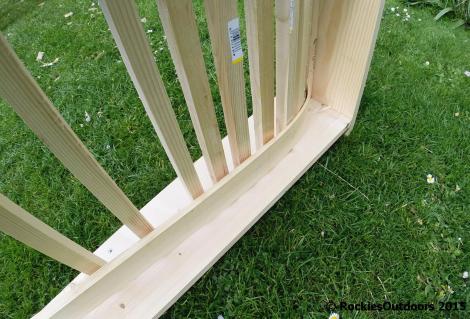
I let the skis steam in the box for about an hour. This gave me time to make sure that the form to bend them around was ready. Again, I made the form before deciding to take photographs of the process, but it was pretty simple to make.
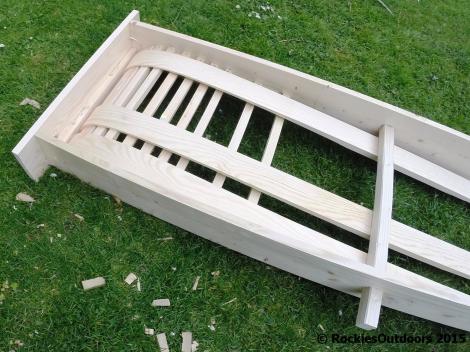
After letting the skis steam, I took them out one at a time and carefully bent them around the form.
When all four were in place I slid a baton through the form to keep them all in place, and hopefully make sure that they all keep a similar shape.
I left them in the form overnight to make sure that they had dried out from the steaming process.
I’m still in the process of making them, so I better get on!
© RockiesOutdoors 2015.



One of the coolest posts I’ve seen in a while, can’t wait to see the finished product!
LikeLiked by 1 person
Cheers! Thank you for reading – will hopefully have the next part next week! 🙂
LikeLike
Interesting. I hope they turn out well. Hope you’ll share a photo of you using them someday. 🙂
LikeLiked by 1 person
Thank you for reading! 🙂
LikeLiked by 1 person
That is seriously impressive! I look forward to the finished product but can’t wait to hear how you like skiing with them.
LikeLiked by 1 person
Thank you for reading! It should be interesting! 🙂
LikeLiked by 1 person
Thanks for this interesting tutorial!!
LikeLiked by 1 person
Thank you for reading! 🙂
LikeLiked by 1 person
Wow! I am amazed right now. This comes at a funny time…my younger brother just spent money on tons of tools, saws, etc. and tried to make a dog bed for our parents’ dog. Yeah, he quit about 3/4 of the way through. I’ll have to show him this, haha!
LikeLiked by 1 person
Thank you for reading! it did take a little while to get right, I’ve got some photos of the bits I broke a long the way, I’ll post them next time! 🙂
LikeLiked by 1 person
Impressive! What a neat project.
LikeLiked by 1 person
Thank you for reading! 🙂
LikeLike
Oh I’m so so impressed !
LikeLiked by 1 person
Thank you! 🙂
LikeLike
Pingback: Making Skis – Part 2 | rockiesoutdoors·
Very good thankyou
LikeLiked by 1 person