Just before the skis came out of the form
Continuing on from Making Skis – Part 1
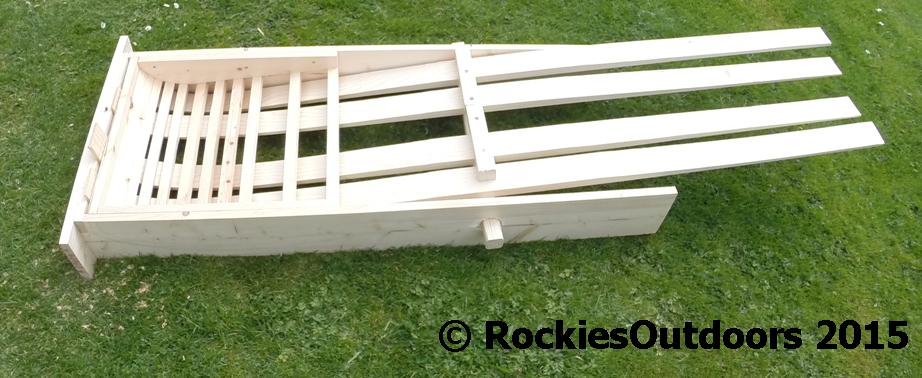
Out of the form
I left the skis to dry in place for a couple of days. Once I was happy that they had dried sufficiently, I removed the bar holding them in place.

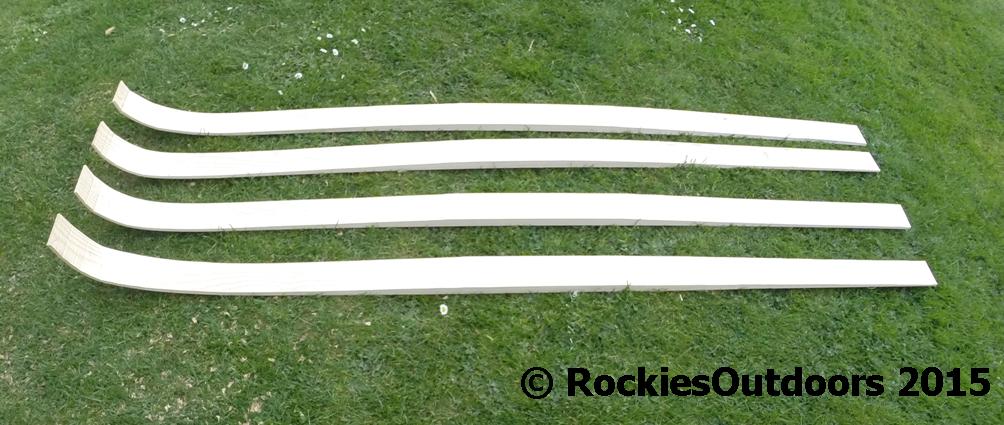
The first batch – they didn’t work quite so well!
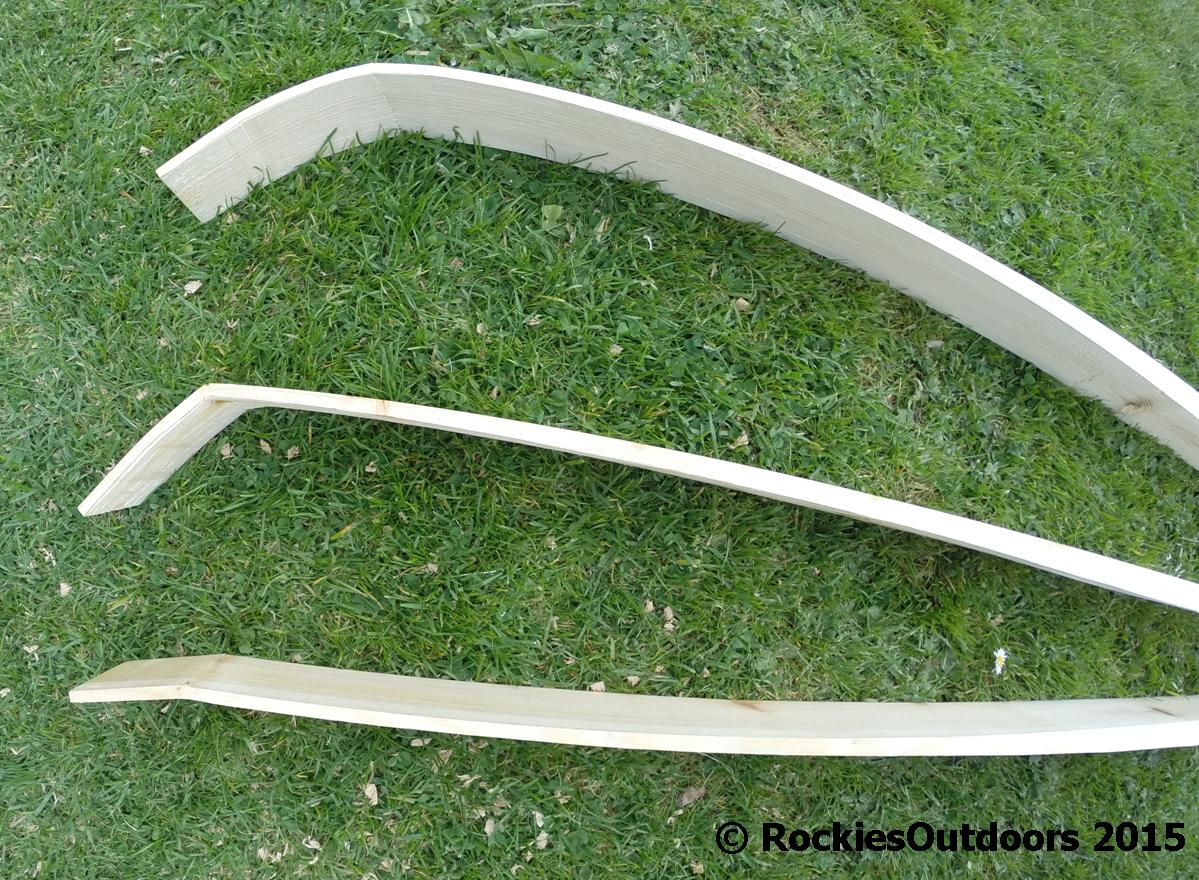
A close up of the first batch
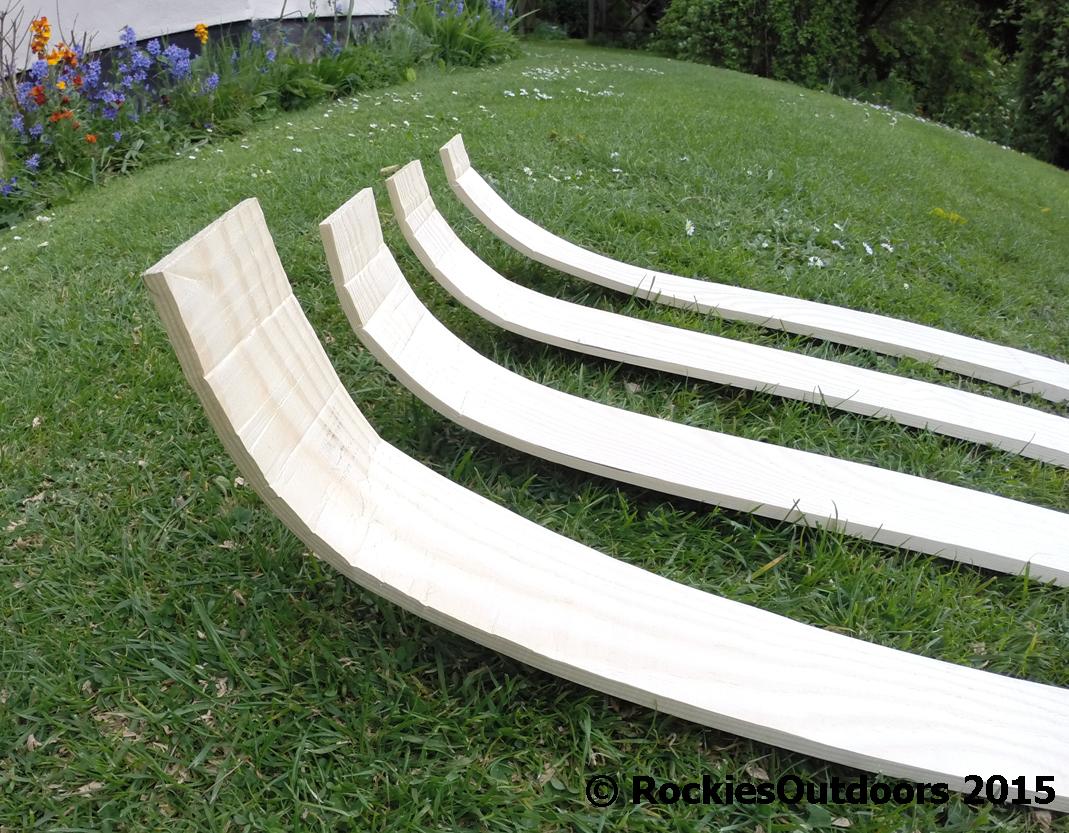
The second batch – much better this time!
Before I took this set of photos I did a trial run – three out of four of the skis broke! So I bought some new timber and made this set – this time they worked much better. Luckily this meant I had five skis in total, so I could use one as a template for cutting out the tip of the ski.
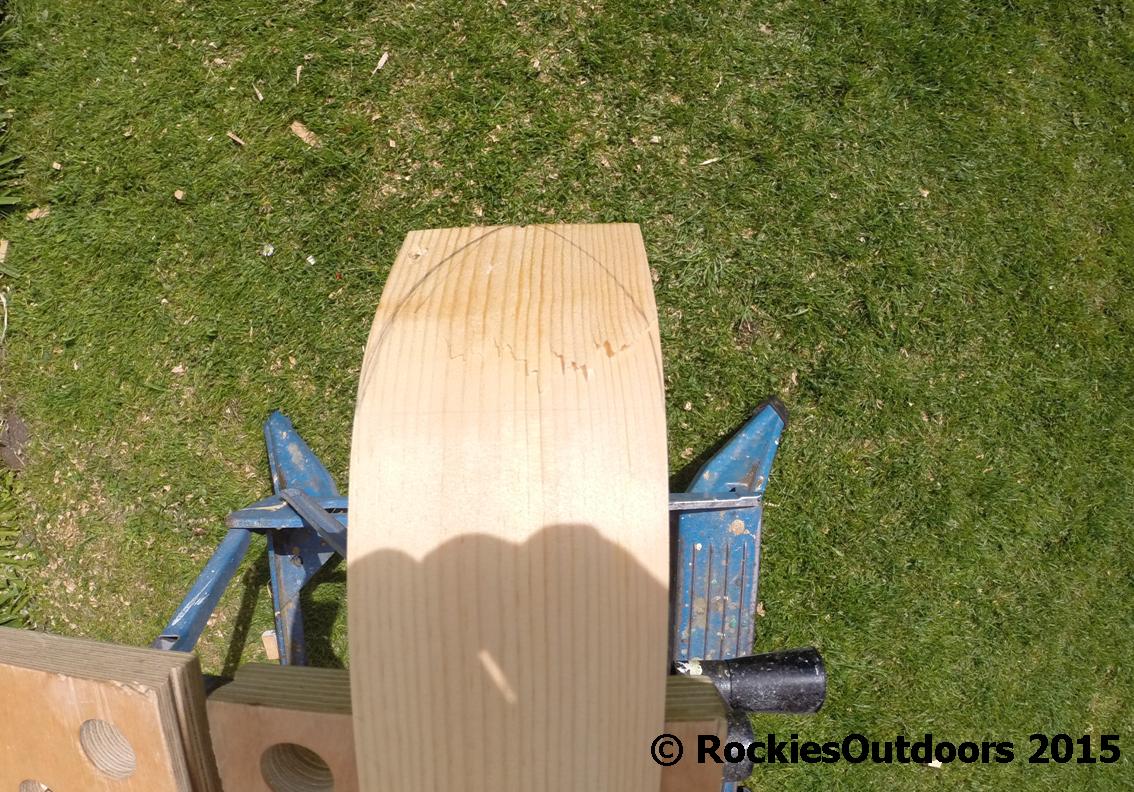
Marking out the firs tip

Cutting out the first tip with a coping saw
So I drew out the shape of the tip and then cut it out roughly using a coping saw.
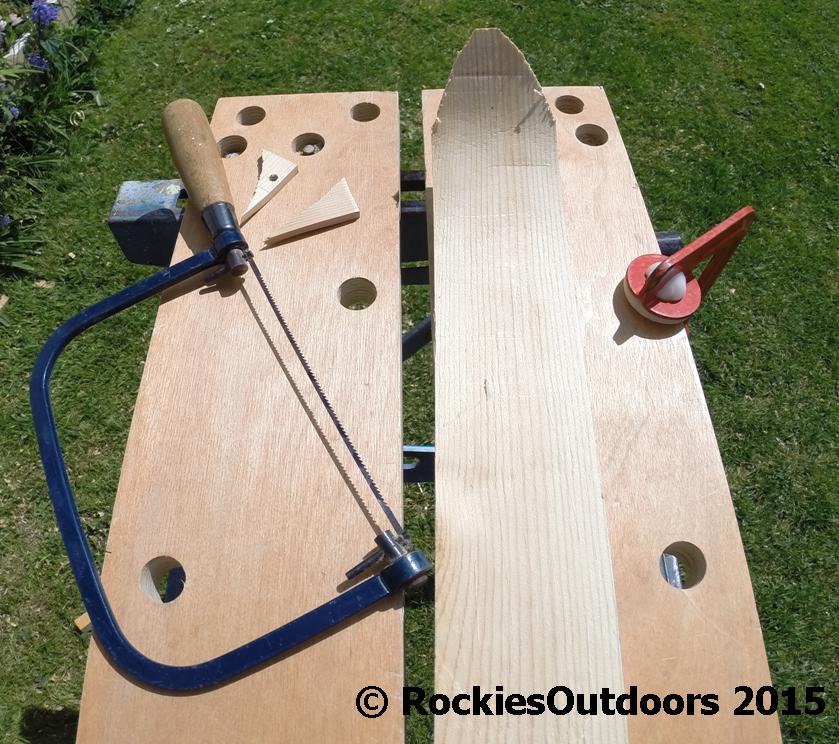
The rough cut out of the tip
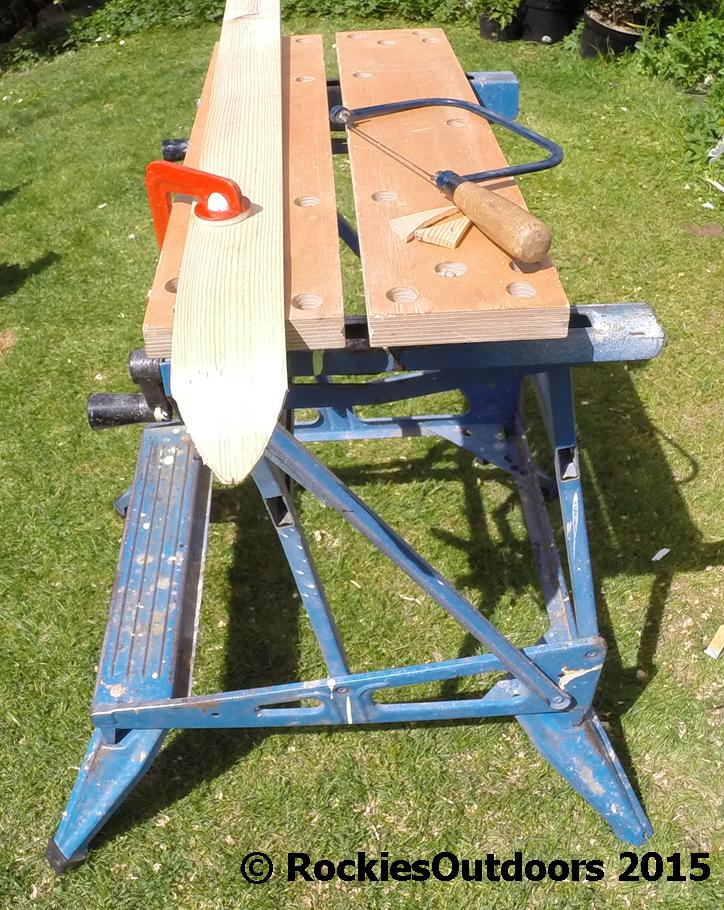
Ready for sanding
Once I had the rough shape of the tip cut out, I then used a belt sander to bring the edges smooth to the pencil outline.
© RockiesOutdoors 2015.

That’s nice! 🙂
LikeLiked by 1 person
Thank you for reading! 🙂
LikeLiked by 1 person
Nice!! Now i’ll wait for the next-step tutorial! 😀
LikeLiked by 1 person
Did you do this your self? Amazing… Looking forward to see them tried out on snow 🙂 Best regards.
LikeLiked by 1 person
Thank you, yes I did make them. They’re not quite finished yet as I just started a new job, but hopefully I’ll get them done soon 🙂
LikeLiked by 1 person